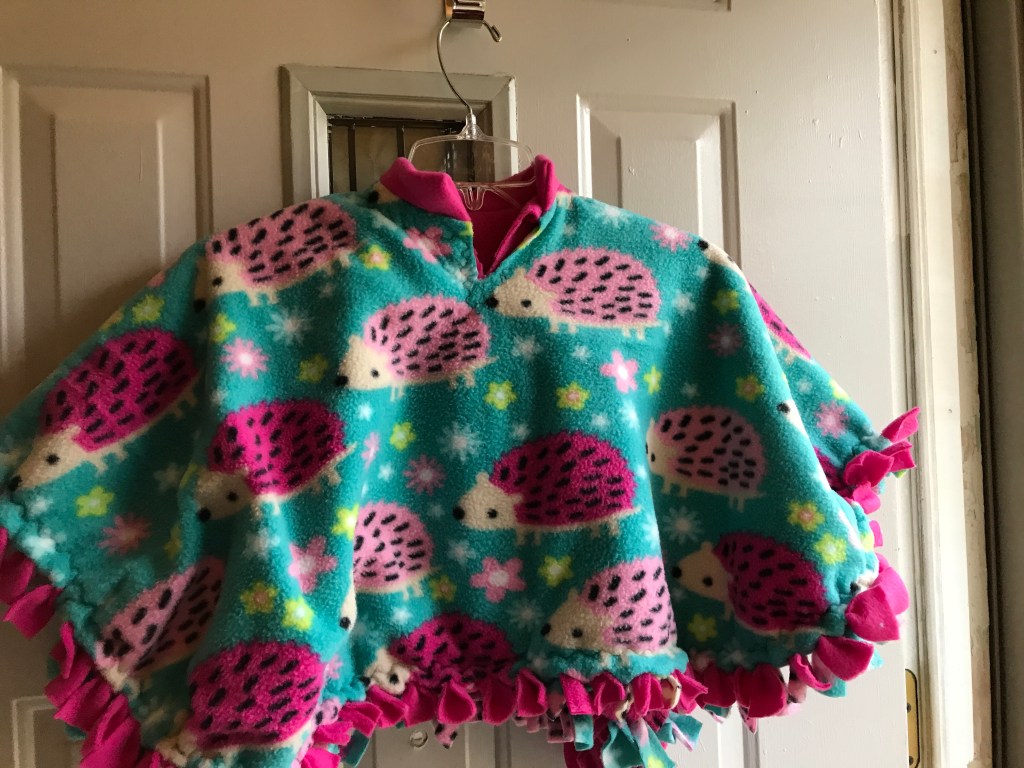
Car ponchos are a new safety feature for those children who are buckled into a car seat harness. Concern is that heavy winter coats decompress during an accident an can loosen reducing the harness ability to secure the child. Solution for those of us who live in colder climates is to buckle the child in without the coat and cover with a car poncho. There are a few patterns on Pinterest. This is my version with a twist and working out all the kinks!


Materials and supplies needed for a toddler poncho:
- *1 yard non-pill fleece in a colorful pattern
- *1 yard non-pill fleece in a coordinating pattern or solid
- Coordinating thread and wound bobbin of same thread
- Sewing Machine ( I have a Brother Dreamweaver)
- Clips (optional)
- Sharp scissors or rotary cutter, mat and 24 inch ruler
- Child’s neck measurements
*Note: I came across a sale on fleece throw kits which gave me enough fabric to make two ponchos for half the price 2 yards would have cost. Also look in the remnant bins for possibilities:)
Cutting Directions:
You need to cut your fabric to a 36 inch square. My 36 inch cutting mat came in handy! Use your first square as a template for the second. Clips are much better than pins to keep the fleece from slipping!


Once you have your squares, time to trim! Fold in half then in half again. On the end with no folds trim at a slight arc to form an oblong. The oblong is better than a circle because the extra length will sit over the car seat width. Cut your first arc out of the first fleece square then use that as a template for the second fleece square. Cut a 2 inch by one inch circle at the tip of the fold. Cut a two inch slit in the front center at the neck.

Collar
I felt the hood shown in some patterns was too bulky around the neck. Since most kids have a favorite hat, I decided on a collar to keep the neck warm. Check your child’s neck measurement against the neck cut out –adjust as necessary. You will have scrap fleece, cut a 4 inch wide by your neck measurement + 1/2 inch (for my toddler size it was 11 inches+ .5 inch for a total of 11.5 inches. Once cut out, fold collar in half and sew at each short end, turn right side out. With right sides together, sew collar to one fleece oblong.
Poncho


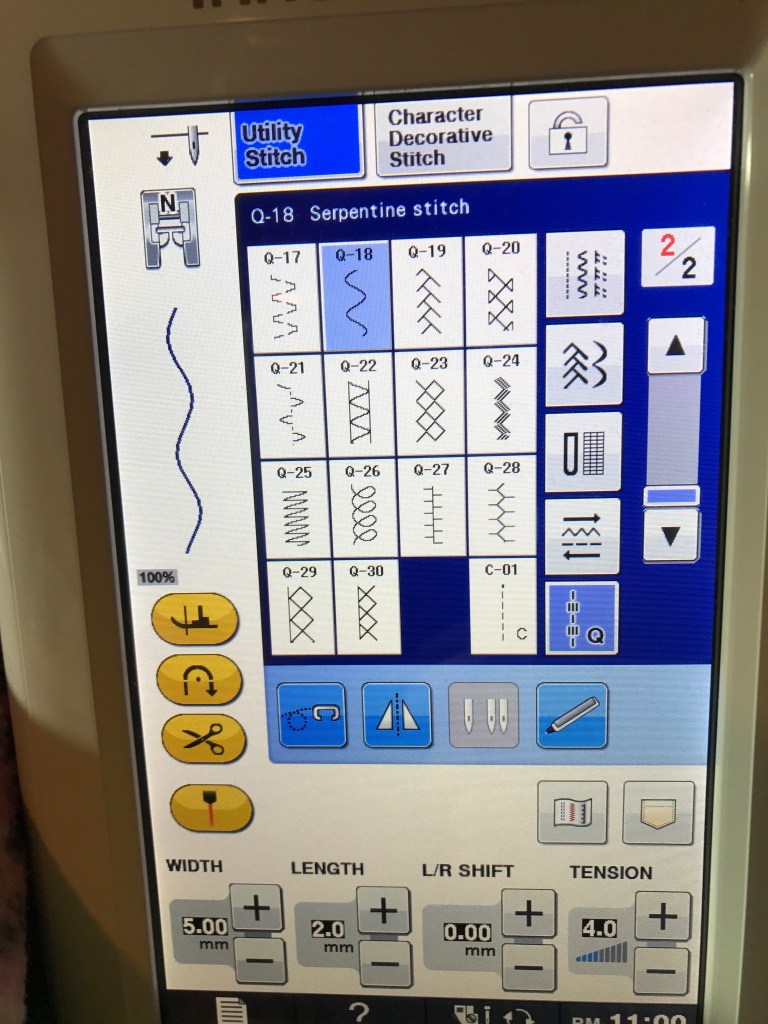
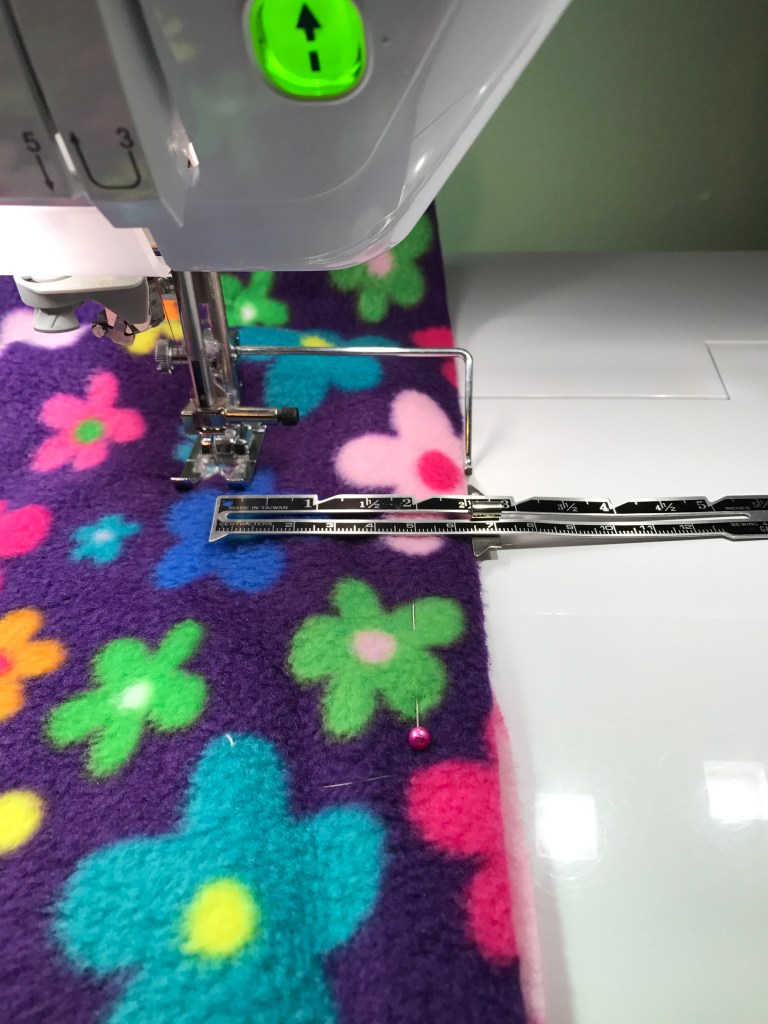
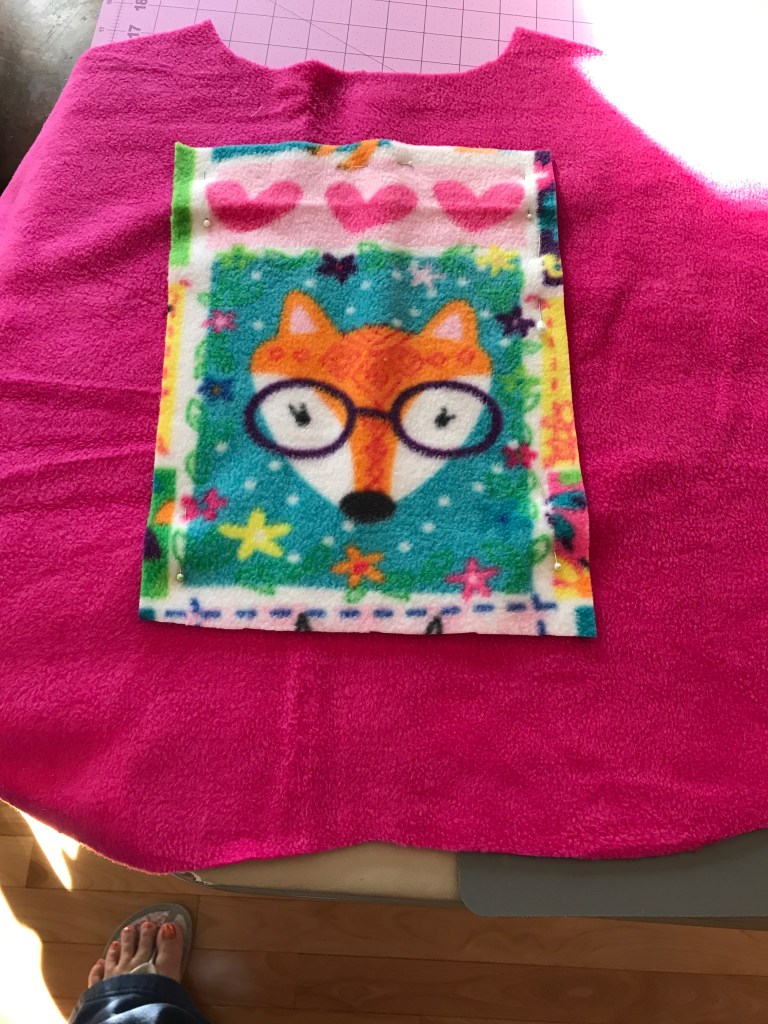
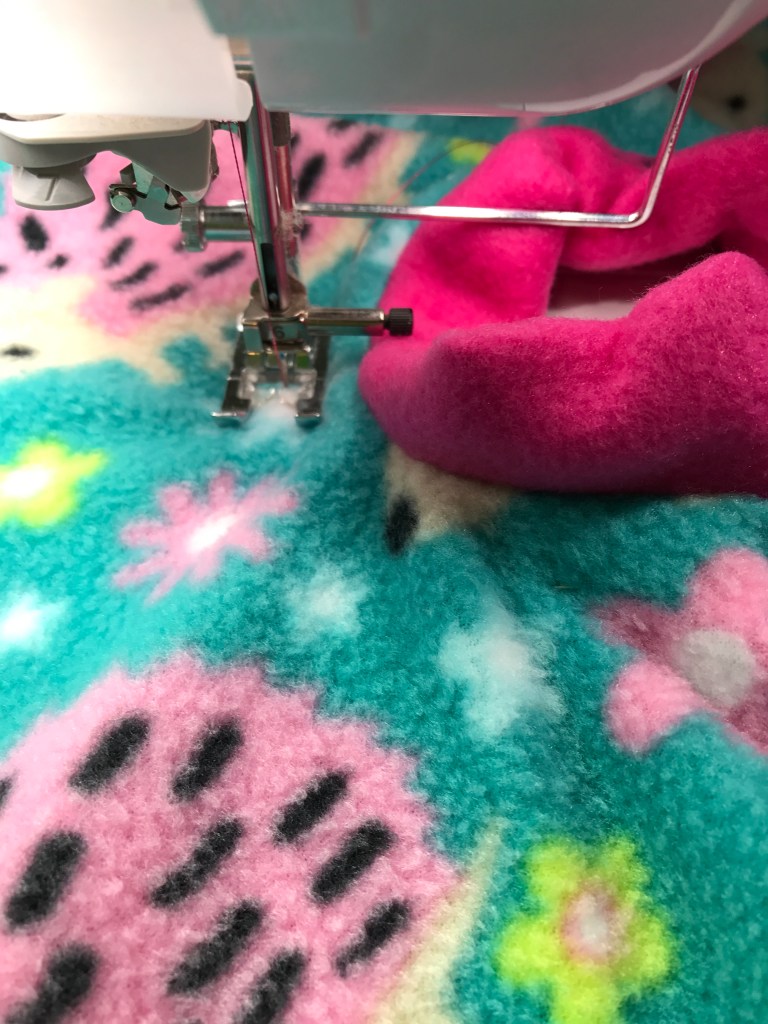
You may want to add a fussy cut of the coordinating for fun. Pick your favorite and center on the front of your choice. Decorative stitch around the edge of that fussy cut. Once your collar and fussy cut is in place proceed to put right sides together of your two fleece oblongs ensuring the front slits align and the collar lays between the right sides. Sew slowly between all 4 layers all around the neck. Check all layers are aligned. Turn inside out when sewing is complete. Use decorative stitch starting at the back of the neck and following around the neck and down and up the edge of the slit staying away from the four layered seam. Lay flat on cutting table and pin around the oblong, smoothing the fleece toward the edge of the oblong as you go. Set your sewing guide bar to two inches as shown in the bottom left picture above. Sew around the bottom oblong at the two inch setting–I used a decorative stitch but that is optional. Lay flat again and at the bottom edge, cut slits up to a 1/4 inch of bottom oblong stitch all away around the bottom edge of the poncho. Take a one inch set of the top and bottom fleece and tie a knot, repeat all the way around.
Let me know if you have any questions! Safe driving!

Leave a comment